
Today I'll be showing you how to assemble and finish your quilted blocks. I'm going to be writing these instructions for the 9 block, 3x3 arrangement we've been making so far in this series, however, you can easily adapt the technique for any size quilt you want to make.
 |
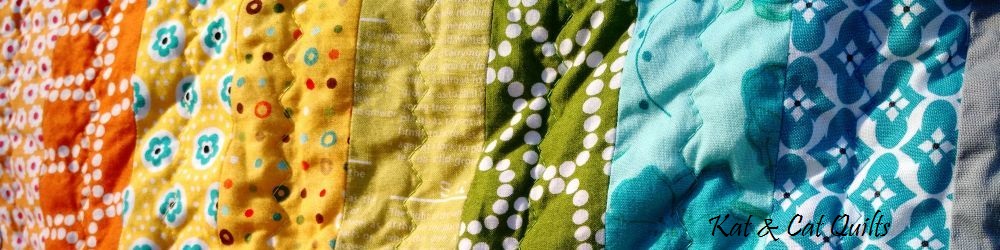
| Here's how your finished quilt might look |
 |
| Back of the quilt with contrasting sashing |

Use your iron to press under one side of the sashing by 1/4". I do this by placing a needle through my ironing mat with a 3/4" gap underneath and slowly pulling the sashing under it while pressing.

Decide on the layout of your blocks and begin to assemble in rows. To join two blocks together, first sew the sashing to the back of one of the blocks along the side where the two blocks will be joined, sewing the non-folded side to the backing and catching the batting in the seam.

Keep the top folded back out of the way, you only want to sew the sashing, backing, and batting.

Next align the two blocks and sew their tops together along with the batting that wasn't sewn into the seam with the sashing. Again, keep the other layers folded out of the way. You only want to sew the two tops and the one layer of batting.

Now your two blocks are joined together with the back unfinished. I recommend spreading the blocks out on your ironing board face down at this point. Now we'll start to nest the layers together.

First fold in the backing not attached to the sashing.

Next fold over the batting/backing/sashing sandwich from the other side.

Fold the sashing over the top of the seam, keeping the pre-folded edge turned under. Use your iron to press the whole seam flat. The purpose of nesting the layers like this is to decrease the bulk that is often a problem in QAYG quilts. Also, catching both sides of the batting in a seam means you don't have to quilt in between the blocks if you don't want to, because the batting is already anchored.

Pin the folded edge of the sashing in place to prepare for sewing it down.

Sew along the side of the sashing with a Ladder Stitch, just like you hand sew down binding. Be careful not to let your stitches go through the front. This seam isn't going to be under any stress, the two seams we machine sewed are doing the actual work of holding the quilt together. This seam is just to finish it off nice.

If you are planning to quilt in between the blocks you may as well do it as each set of blocks is joined. No need to lug the whole quilt around for as long as we can avoid it. I got this pattern from Angela Walters book, which has a section specifically on long narrow patterns for areas like sashing.

Join your rows to each other exactly the same way you joined the single blocks to each other, except with longer seams. Quilt in the sashing if you want and bind however you usually do.
You're done! Way to go! If you have any questions or comments about these tutorials, or if you make something using one of my tutorials please leave a comment. I love feedback!
Thanks to everyone who has followed along for the QAYG Simple Sampler. It's been fun!
This comment has been removed by a blog administrator.
ReplyDeleteThis is a beautiful sampler! I've never tried QAYG but these seem great instructions.
ReplyDelete