 |
| This nicely complex block is a WHOLE lot easier to make than it looks. |
(Edited to add: See the finished quilt here!)


The Golden Spiral for instance is made from boxes whose sides lengthen following the sequence. This spiral shows up a lot in nature.


But it's not just nature, it's architecture, art, even web design. The golden spiral is very pleasing to our eye.

Many trees have branches in combinations of the Fibonacci numbers and even in the bumps in their bark. Sunflowers and some other flowers have petals according to these numbers. It is nature's numbering system, for reasons that we don't entirely understand, but it is without a doubt both aesthetically appealing and efficient.

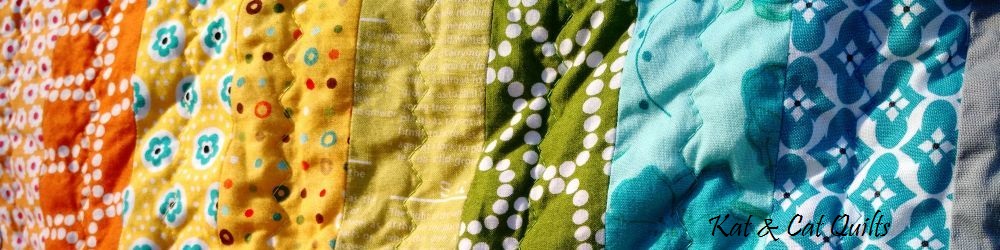
I have been fascinated by the Fibonacci Sequence even since I learned about it in high school. You can see in the image above how the sequence is used in this month's block. With nature itself on our side we can't help but make a beautiful quilt, so let's get started! This technique makes 2 blocks at a time, which is all I am asking you for, but in order for the design to look right I really will need a 6x6 layout (36 blocks). I am planning to make the extras myself, but if anyone wants to send extra I would appreciate it!

For this quilt I am thinking of colors similar to this quilt we did before. You will each need to choose 2 complimentary solids with a decent amount of contrast between them. (No pinks or purples please, let's keep it boy friendly.) Cut a 14" square from each solid.

Slice each of the squares into strips, (2) 1" wide, (1) each of 1.5", 2", 3", & 4.5". (There will be a narrow strip leftover which you can toss into the trash or your scraps.)

Swap every other strip between the sets to make 2 complimentary, inverted strip sets. Be careful to keep the strips in the right order.

Sew the two strips sets together into 2 new blocks and press toward the darker fabric. It's easiest to press as you go along, after adding each strip. (Normally I am not a stickler about pressing but in this case it is important. If one of the fabrics isn't obviously darker, just pick one to press toward, but keep it the same for both blocks.) You might check your measurement here. At this point the blocks should measure 10.5" in their shorter dimension.

Square up one end of the strip sets.

Then slice off strips going crossways in the same measurements as before: (2) 1" wide, (1) each of 1.5", 2", 3", & 4.5". Again there will be a bit leftover, but probably not much.

Again, swap every other strip between the two sets to create 2 complimentary blocks.
 |
| See how the seams nest? (Yes, sorry, the fabrics changed colors.) |

You can press these seams all the same direction, to whichever side you want. Please do run a line of stay stitching around the block about 1/8" from the edge to protect seams from splitting in shipping or assembly. You blocks should measure 10.5" square, but trust me I know how hard it is to stay precise with this many seams. As long as you are within a 1/4" or so don't stress and send what you've got.
Thanks so much for being an awesome group, Nurture Circle! I look forward to our finished quilt!
(Edited to add: See the finished quilt here!)
I like Fibonacci! It is so harmonious! I'm planning to make Fibonacci Quilt. I'd like to pin this tutorial in my Pinterest table and link to my quilting blog, too. Please, tell me, if it is not OK. :)
ReplyDeleteWow, this just fried my brain this early... Ha Ha not really. It looks like a hard block but following the directions looks to go together easily. Can't wait to see this one!
ReplyDeleteI love Fibonacci! This looks like it's going to be a fun quilt
ReplyDeleteAlso I had to check myself for a second when I saw the blue and orange - Kat does not go to U of I, blue and orange are legitimate colors that are used by other people...
At university I once wrote an essay on 'the elegance of mathematics in visual arts'. Maths and art combined, what could be better :). They were my two favourite subjects at school.
ReplyDeleteWhat a fabulous tutorial and nature lesson ~ your Nurture quilt will be stunning!
ReplyDeleteThis is so cool! Loved your do. Good Stitches quilt you made. I might have to have a go sometime!
ReplyDeleteObrigado por ensinar!!!
ReplyDeleteSempre quis fazer!!!
Sou muito agradecida!
liége